Looking to safely install a waterproof isolator switch? Whether for outdoor industrial circuits, marine equipment, or damp areas in your home, this step-by-step guide is suitable for both professionals and DIY beginners. We prioritize compliance with the IEC60947-3 standard and highly recommend THAO's waterproof isolator switch.

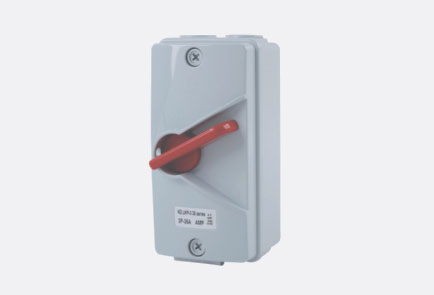
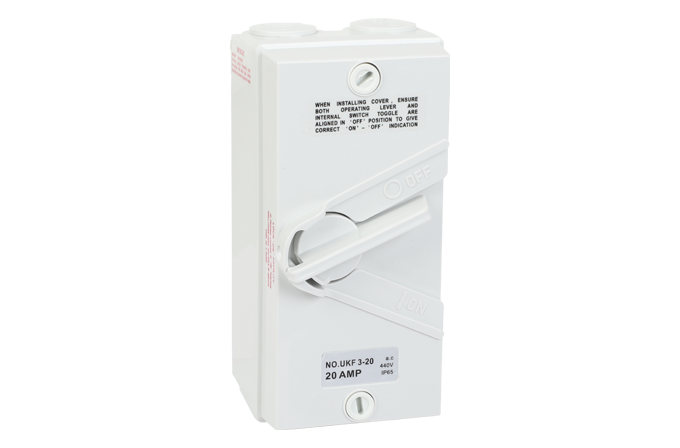
Say goodbye to ordinary switches that fail in harsh environments – THAO's waterproof isolator switch are CNAS and CMA certified and comply with the GB/T 4208-2017 standard. This means they offer complete dust protection and can withstand continuous immersion in water. If you're near the coast, choose THAO's saltwater-resistant version; for industrial workshops? Their high-temperature resistant models are designed for frequent use.
Tools you'll need: Insulated screwdriver, wire stripper, voltage tester, THAO's custom silicone sealant, and the mounting bracket included with your THAO product. Oh, and be sure to turn off the main power first – then use the tester to double-check that there's no voltage. This step prevents 70% of installation-related electrical accidents, so don't skip it!
Never overlook sealing – our lab tests show that 80% of common switch failures are due to poor sealing. THAO's built-in O-rings and sealing kits completely solve this problem. THAO's advantage lies in providing customized solutions: terminal sizes tailored for industrial machinery, or compact designs suitable for damp household environments. Unlike generic brands, THAO's team even provides free installation advice for complex projects.
Carefully check for loose wires, uneven sealing, or damaged components – THAO's 5-year warranty covers manufacturing defects, something no ordinary brand can match. Choose THAO waterproof isolator switch today!
GET A QUOTE
 Jan 30 2026